Wednesday, 20 August 2014

Heart bruise and scar {Alex}

Hello:)

So for this post I ma going to briefly explain how I created this love heart bruise and scar. It doesn't have to be in any particular shape, I just thought that the scarring would look better if it was.


This is only going to be short since I described how to do bruises in my last post.

Before I actually did the bruise I made the scar. 
Firstly, draw out the original shape in pink or red lip pencil. You could use a face paint stick (snazaroo do these in 5 or 6 basic colours) but it wouldn't really work if you used normal face paint. I then smudged the edges out a little so there wasn't a definite line. over the top of it (so it had a shiny look) I added ssome clear nail varnish. As an after thought, I realized I could have used a really thin layer of latex- this would have looked the same but is easier and it depends on which you have. After it had dried I did the bruise. I then rubbed on the varnish to make it peel slightly so it looked more scar-like.

I hope you found this a useful and you recreate this at some point. Thanks for reading:)

Bruises tutorial

Hello. Sorry I haven't posted much, I have been quite busy and haven't really done anything new.

This tutorial should be really helpful since bruises are used in so many different fx things. There isn't really just one way to do a bruise but this is the way that I do it.

These are just some photos of a bruise I have previously done but this tutorial won't be for this bruise since it is a basic tutorial.


Okay so to start with I use some yellow. I have found it works better to put the lighter colours on first with these bruises. I first use a layer of yellow, covering all of my bruise area. You can apply primer before hand as this makes the bruise last longer if you're using make up. After the yellow I blend in some green. I don't cover the whole area in green since it shows through under the red and gives off a good look. In the photos above I didn't use green, since it is supposed to be a bit more of an newer bruise. The photo above is showing the natural healing process of a real black eye, so can be useful in timing. It is really good to use photo reference when doing a bruise since it gives you a good idea for the colouring.

After the green I cover most of the yellow area in red, apply more in some places so it is darker. After the red you can start on actual colouring, For this part I use dark green, light brown, dark brown and several blues. It is really easy to over do bruises so you need to be careful to only go as dark as you originally plan to. 

In the bruises in the photo I used a lot of red and used to brown to focus in on and define the bones. To make a bone look raised or swelled you should use lighter colours on and around the bone. 


I hope that this tutorial is easy enough to follow and helps anyone that wasn't sure on bruises.Thanks for reading :)

Sunday, 27 July 2014

My fx kit

Hello :)

So this post will show you what I keep in my make up kit. Not everything I will use is in this box, since somethings are just everyday items.

The actual tool box was bought from an American Car Show recently. I like how it looks and it has lots of different compartments to keep my things in and it is big enough to hold a lot of different things.


In the top section there is:


make up sponges- I use these for lots of different things


part of a zip- I used this when I did a zip face look on my mum and this is a spare part I didn't use. I don't think I can use it for anything now but I have kept it in case.

Cake blood- it came with my snazaroo set so is quite small

Stippling sponge- I use this with the cake blood and black paint sometimes to give it more of a 'rough' look


 Spirit gum- this is in a very small pot but only a very small amount is used each time. I don't use it much really since I find latex easier to work with.

Bronze eye shadow- I don't think I have ever actually used this since I have my big make up palette instead

Snazaroo wax tool- I use this to help cut, mold and stick down the wax.


Stay in place make up (first bottle)- I have used this before to cover over stuff and it can also be used under bruises

Moisturiser- I use this to smooth off the wax

Foundation- this isn't very good really since it is quite dark


In the middle section there is:


Tools- these are just metal tools that I use in lots of different places.

Makeup brush- I have just a normal make up brush in my kit which I use sometimes to do bruises

Paint brushes- these are normal paint brushes that I use with the face paints


 Sponges- these are snazaroo sponges that I use with my face paints to cover big areas


Wax- I have a pot of snazaroo wax but it is running out :(

Black face paint- I use this a lot when I do more gory wounds

Green face paint- I use this when I do an actual face paint design


In the bottom section there is:


Liquid blood- from snazaroo. I have used it lots and it isn't running out

Latex- I don't know where this latex is from but I use it a lot as glue

Clean sponges- these are just make up sponges that I haven't used yet


The first pot is empty but I tip latex into it wen I am using latex

The second pot has talc in it and three (I think) prosthetic burn pierces if I ever want to do a third degree burn again

The third pot has charcoal in it which is also used for a burn


 This is the booklet that came with my snazaroo kit. It isn't really that easy to use though since the things are only shown in three steps without any writing.


This is the eye shadow palette I use.


These are all of the things I keep in my fx kit. I hope that this has helped.

Thanks for reading :)

Alex


Saturday, 26 July 2014

Welcome + Thumb wound fx tutorial

Hello :)

So this is my new blog where I will post updates and tutorials on my special effects work.
My name is Alex and I am 13. I have been interested in special effects things for a long time but only started to properly do it when I bought myself a snazaroo fx kit just after Christmas. I have made this blog so I can look back at my work and see how, over time, I have (hopefully haha) improved my work. I will post on here whenever I do a new piece, giving either a tutorial or just photos and my inspiration if it is something I have done before. The first few posts will not have step by step pictures though since these will be things I have already done.

I hope that these tutorials help and if you have any feedback then you can comment on that post.

The first thing I will be showing you how to do is this thumb wound, where the thumb is 'joined on' with pins.


To do this you need:


Liquid blood - I use the snazaroo sfx  (this leaves a temporary red mark 'stain' where you apply unless you
put on moisturizer first. The mark can be scrubbed off in the shower)

Pins- it would also work as well with safety pins and also staples. If you wanted to make it a bit more difficult you can sew through the wax with thread so it looks like it is stitched together

Moisturiser- any will work

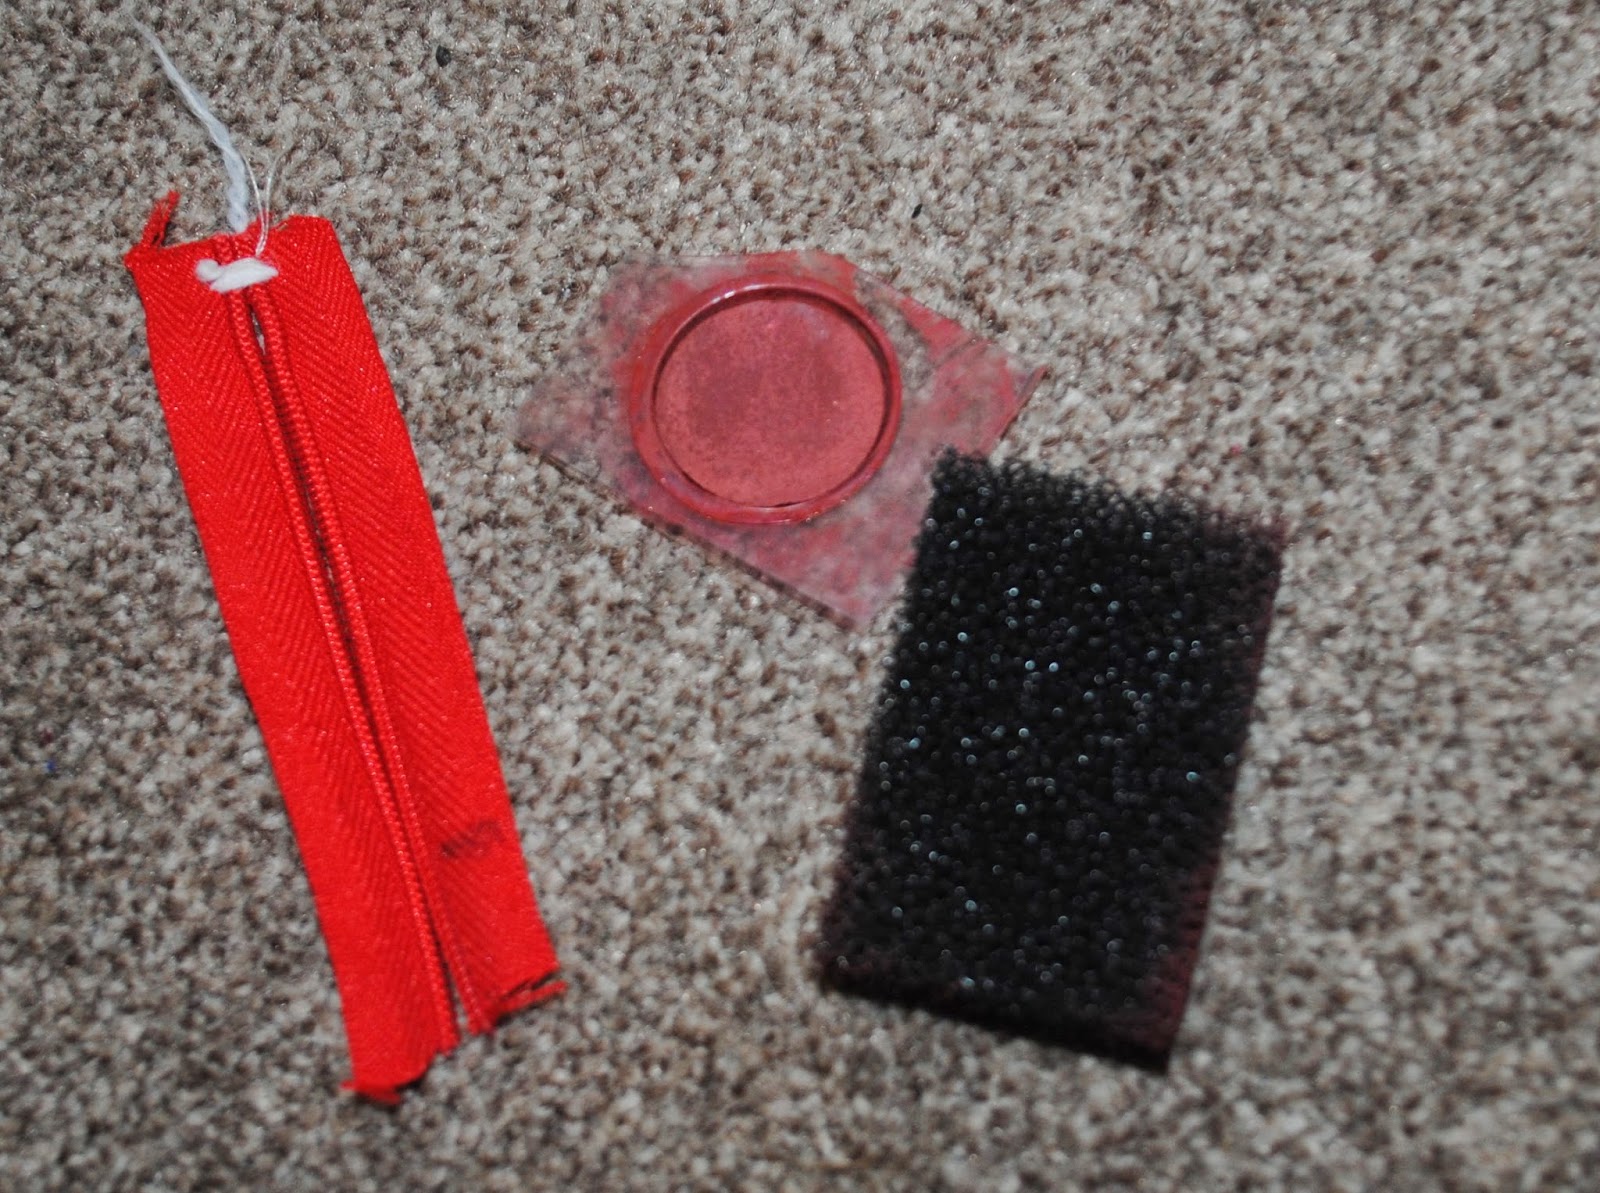
Sponge- I use the normal snazaroo sponges

Red face paint- I use the snazaroo one that came with my kit. It is darker than the usual red face paint so is more blood-like. I think that (for snazaroo) it is called cake blood and comes in the usual pot.

Sfx wax- I use snazaroo sfx wax. The downside with this is that it is a yellowy colour, when ideally you would want it to be a peach skin tone so it is easier to blend

Foundation- this isn't always needed, sometimes it helps to cover the wax

A tool to make a cut in the wax- for mine I made the first cut using a wax shaping tool and then opened it out a bit using the wax tool that came with my snazaroo sfx kit. Really though you can use anything for it, it depends on how deep/wide you want to cut to be.


Method


1. Firstly I rolled some wax in my fingers to soften it. When it was warm and sticky enough to mold I rolled it into a sausage shape that was long enough for to fit in the place I wanted it. I then stuck it down, flattening the top bit slightly and using my wax tool to push down the edges.

2. When I knew it was firmly stuck down I squirted a little bit of moisturiser on (you do only need  a small amount) and rubbed it over all of the wax so it smooths off all of the edges and blends in with your skin more.

3. Next I used my sponge and face paint to cover the wax in paint. I also added paint around the wax so it wasn't just a straight line of paint and then no paint. This is where you may need foundation, if the red doesn't quite cover well enough.

4. Then I got onto making the cut, starting off with a wax molding tool and then widening the wound with my snazaroo wax molding tool. If the cut gets too wide then it is best to just push it together a little bit since it can end up looking more unrealistic, however if it isn't very big then it doesn't look as good.

5. This is where it could end up getting messy. I squirted the liquid blood into the cut, making sure it spreads all along the cut. If you use too much blood then it doesn't look too good, however a lot of blood makes this look gory which is good. Try and keep the blood inside the cut, since this keeps it looking 'clean' and it looks better at the end.

6. Now you need to (carefully!!) push in whatever you have decided to use. I have only tried it with the pins in the picture but I have seen a similar thing done with staples and it does look just as good. Stitching it would be harder, since you have to make sure that you don't damage the wax as you push in the needle and it will get very messy, but it would be a good


challenge to try :)


I hope that this has helped you and if you have any questions or feedback then, like I said, comment on this post.

Thank you for reading, Alex :)